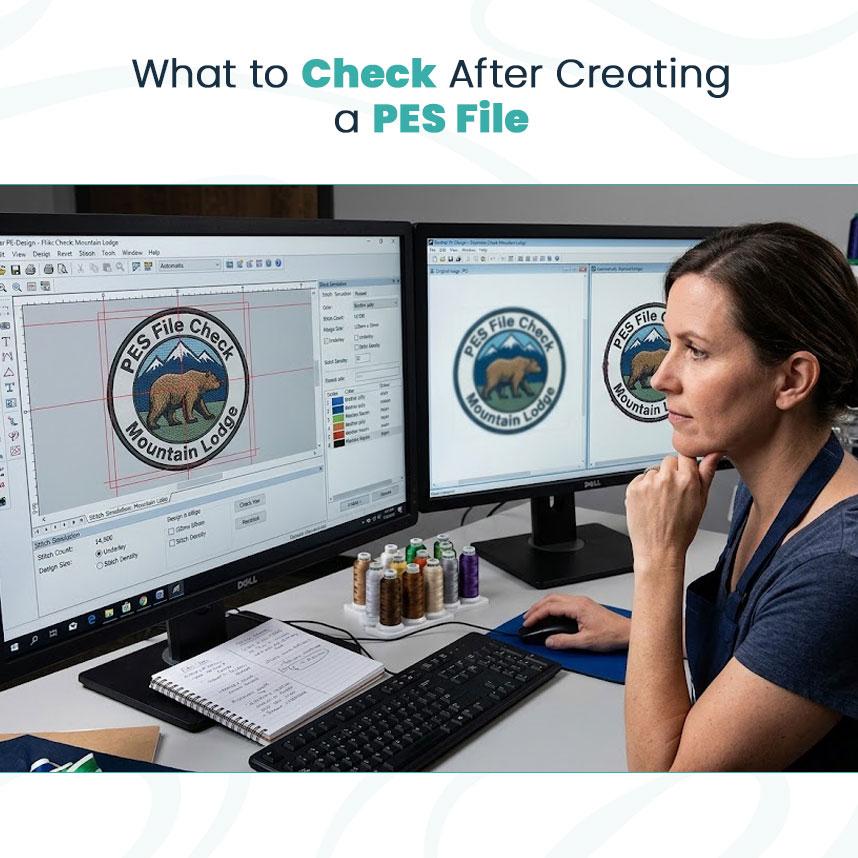


What to Check After Creating a PES File
Getting a PES file from a JPG can feel like the job is finished. In reality, the file may still need several checks before it is ready for an embroidery machine.
The main issue is that Convert JPG to PES tools can create stitch information automatically, but automatic results do not always match the needs of the actual embroidery project. This is where professional embroidery digitizing becomes useful for designs that require more careful stitch planning.
Start With the Original Artwork
The quality of the starting JPG matters. A blurry image, rough edge, or unclear color area can make the conversion more difficult because the software may struggle to identify clean shapes and edges.
Before conversion, inspect the artwork for:
Blurry edges
Low-resolution details
Extra background elements
Very thin lines
Small text
Similar colors that may be hard to separate
Cleaning these areas first can improve the structure of the resulting file.
Review the Stitch Plan
After conversion, do not immediately send the file to production.
Open the PES file in suitable embroidery software and review the stitch sequence. Look for areas where the machine may create unnecessary movement or excessive stitching.
Pay attention to:
Stitch density: Heavy areas can make fabric stiff or cause thread issues.
Underlay: Proper support helps hold shapes in place.
Stitch direction: Direction changes can improve the appearance of fills and satin areas.
Small details: Tiny elements may need to be simplified or removed.
Color sequence: A practical sequence can reduce unnecessary thread changes.
Consider the Fabric and Size
The same design may behave differently on a cap, polo shirt, jacket, or lightweight garment. Size also changes how much detail can be retained.
A logo that works at 5 inches may need adjustments at 2 inches.
This is why creating a PES file should be connected to the actual production plan. A file is not truly ready just because it opens correctly in embroidery software.
Final Quality Check
Before stitching, verify that:
The dimensions are correct
The colors are assigned properly
The stitch count is reasonable
Small details are practical
The sequence makes sense
The design suits the target fabric
A careful review can prevent costly test runs and poor finished embroidery. The best conversion process focuses on stitch quality, not simply getting a JPG changed into a PES file.
visit https://scryvehq.com/article/jpg-to-pes-what-free-converters-get-wrong-mtsj6oij
Getting a PES file from a JPG can feel like the job is finished. In reality, the file may still need several checks before it is ready for an embroidery machine.
The main issue is that Convert JPG to PES tools can create stitch information automatically, but automatic results do not always match the needs of the actual embroidery project. This is where professional embroidery digitizing becomes useful for designs that require more careful stitch planning.
Start With the Original Artwork
The quality of the starting JPG matters. A blurry image, rough edge, or unclear color area can make the conversion more difficult because the software may struggle to identify clean shapes and edges.
Before conversion, inspect the artwork for:
Blurry edges
Low-resolution details
Extra background elements
Very thin lines
Small text
Similar colors that may be hard to separate
Cleaning these areas first can improve the structure of the resulting file.
Review the Stitch Plan
After conversion, do not immediately send the file to production.
Open the PES file in suitable embroidery software and review the stitch sequence. Look for areas where the machine may create unnecessary movement or excessive stitching.
Pay attention to:
Stitch density: Heavy areas can make fabric stiff or cause thread issues.
Underlay: Proper support helps hold shapes in place.
Stitch direction: Direction changes can improve the appearance of fills and satin areas.
Small details: Tiny elements may need to be simplified or removed.
Color sequence: A practical sequence can reduce unnecessary thread changes.
Consider the Fabric and Size
The same design may behave differently on a cap, polo shirt, jacket, or lightweight garment. Size also changes how much detail can be retained.
A logo that works at 5 inches may need adjustments at 2 inches.
This is why creating a PES file should be connected to the actual production plan. A file is not truly ready just because it opens correctly in embroidery software.
Final Quality Check
Before stitching, verify that:
The dimensions are correct
The colors are assigned properly
The stitch count is reasonable
Small details are practical
The sequence makes sense
The design suits the target fabric
A careful review can prevent costly test runs and poor finished embroidery. The best conversion process focuses on stitch quality, not simply getting a JPG changed into a PES file.
visit https://scryvehq.com/article/jpg-to-pes-what-free-converters-get-wrong-mtsj6oij
What to Check After Creating a PES File
Getting a PES file from a JPG can feel like the job is finished. In reality, the file may still need several checks before it is ready for an embroidery machine.
The main issue is that Convert JPG to PES tools can create stitch information automatically, but automatic results do not always match the needs of the actual embroidery project. This is where professional embroidery digitizing becomes useful for designs that require more careful stitch planning.
Start With the Original Artwork
The quality of the starting JPG matters. A blurry image, rough edge, or unclear color area can make the conversion more difficult because the software may struggle to identify clean shapes and edges.
Before conversion, inspect the artwork for:
Blurry edges
Low-resolution details
Extra background elements
Very thin lines
Small text
Similar colors that may be hard to separate
Cleaning these areas first can improve the structure of the resulting file.
Review the Stitch Plan
After conversion, do not immediately send the file to production.
Open the PES file in suitable embroidery software and review the stitch sequence. Look for areas where the machine may create unnecessary movement or excessive stitching.
Pay attention to:
Stitch density: Heavy areas can make fabric stiff or cause thread issues.
Underlay: Proper support helps hold shapes in place.
Stitch direction: Direction changes can improve the appearance of fills and satin areas.
Small details: Tiny elements may need to be simplified or removed.
Color sequence: A practical sequence can reduce unnecessary thread changes.
Consider the Fabric and Size
The same design may behave differently on a cap, polo shirt, jacket, or lightweight garment. Size also changes how much detail can be retained.
A logo that works at 5 inches may need adjustments at 2 inches.
This is why creating a PES file should be connected to the actual production plan. A file is not truly ready just because it opens correctly in embroidery software.
Final Quality Check
Before stitching, verify that:
The dimensions are correct
The colors are assigned properly
The stitch count is reasonable
Small details are practical
The sequence makes sense
The design suits the target fabric
A careful review can prevent costly test runs and poor finished embroidery. The best conversion process focuses on stitch quality, not simply getting a JPG changed into a PES file.
visit https://scryvehq.com/article/jpg-to-pes-what-free-converters-get-wrong-mtsj6oij