

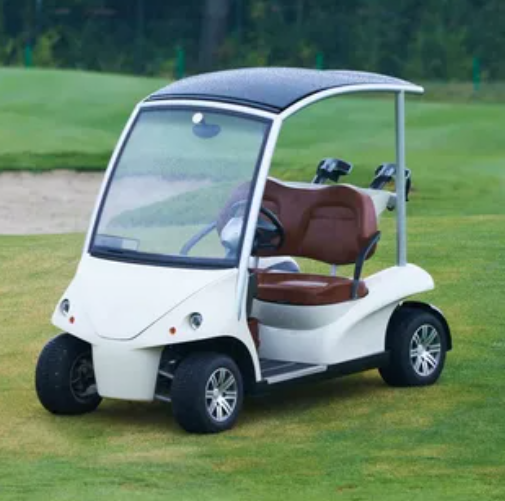
How to Safely Remove and Replace Aging Golf Cart Batteries
Replacing aging golf cart batteries is a task many owners eventually face, especially as performance starts to drop and charging becomes less reliable. Understanding how to safely remove and install new batteries not only extends the life of your golf cart but also prevents injury and damage to the vehicle. Whether you’re maintaining your own cart or learning about best practices like old golf cart battery removal the village fl, following proper safety and handling procedures is essential.
Understanding When Batteries Need Replacement
Golf cart batteries typically last between 4 to 6 years depending on usage, maintenance, and charging habits. Common signs of aging batteries include reduced driving range, slower acceleration, longer charging times, and visible corrosion around terminals. If your cart struggles to hold a charge or dies quickly after being unplugged, it’s usually time for a replacement.
Before starting the removal process, ensure the cart is parked on a flat surface, turned off completely, and the key is removed. Engaging the parking brake is also important to prevent movement during maintenance.
Safety Precautions Before Removal
Working with golf cart batteries requires caution because they contain sulfuric acid and produce electrical current. Always wear protective gloves and safety glasses to prevent contact with acid or accidental sparks.
It’s also important to work in a well-ventilated area. Battery gases can be harmful if inhaled in enclosed spaces. Keep metal tools away from battery terminals unless absolutely necessary, and avoid wearing jewelry that could accidentally create a short circuit.
Tools You Will Need
Before beginning the removal process, gather the following tools:
- Wrench set or socket set
- Battery strap or lifting tool
- Baking soda and water solution (for cleaning corrosion)
- Clean cloth or paper towels
- Protective gloves and eyewear
Having everything ready beforehand reduces the risk of rushing, which can lead to mistakes or accidents.
Step-by-Step Battery Removal Process
1. Disconnect the Power
Start by locating the main battery pack. Most golf carts have multiple batteries connected in a series. Begin by disconnecting the negative terminal first to prevent short circuits. Then disconnect the positive terminal. Always follow this order to ensure safety.
2. Inspect and Clean Terminals
Once disconnected, check for corrosion around the terminals. A mixture of baking soda and water can be used to neutralize acid buildup. Clean terminals carefully using a brush or cloth. This step helps prevent future electrical issues and makes installation smoother.
3. Remove Battery Hold-Downs
Most golf carts have brackets or straps securing the batteries in place. Carefully loosen and remove these fasteners. Keep them in a safe place for reuse unless they are damaged.
4. Lift Batteries Out Carefully
Golf cart batteries are heavy, often weighing between 50 to 70 pounds each. Use proper lifting techniques or a battery strap to avoid injury. Lift straight up and avoid tilting excessively to prevent acid spills.
Place removed batteries on a stable surface away from children, pets, and metal objects.
Proper Disposal of Old Batteries
Old batteries should never be thrown in regular trash. They contain hazardous materials that require proper recycling. Most automotive shops, recycling centers, or battery retailers accept used golf cart batteries for safe disposal. Many even offer discounts when you return old units during a purchase.
Installing New Golf Cart Batteries
1. Position the New Batteries
Place the new batteries in the same orientation as the old ones. Make sure they sit securely in their compartments without rocking or tilting.
2. Reconnect Wiring Systematically
Reconnect the batteries following the original wiring diagram. Always connect the positive terminals first, followed by the negative. Double-check each connection to ensure tightness and accuracy.
Incorrect wiring can damage the electrical system, so take your time during this step.
3. Secure Batteries in Place
Reinstall all hold-down brackets or straps. Batteries should not move when the cart is in motion, as vibrations can cause damage or loose connections.
4. Charge Before First Use
New batteries should be fully charged before using the golf cart. This helps activate full capacity and ensures balanced performance across all batteries in the pack.
Maintenance Tips for Longer Battery Life
To extend the life of your new batteries, follow these simple maintenance practices:
- Charge after every use, even for short trips
- Avoid letting batteries fully discharge
- Check water levels in lead-acid batteries regularly
- Clean terminals every few months
- Store the cart in a cool, dry place
Consistent maintenance can significantly increase battery lifespan and performance.
Final Thoughts
Safely removing and replacing golf cart batteries is a straightforward process when done carefully and with the right precautions. From disconnecting power properly to lifting heavy units safely, every step plays an important role in protecting both you and your equipment. Whether you're performing routine maintenance or handling old golf cart battery removal the village fl, following these guidelines ensures a smooth and safe battery replacement process.
Categorie
Leggi tutto
BuyUSAacc is a Google-certified marketplace offering reliable, premium, bulk-aged email, social, banking, and ad accounts, all delivered securely. We empower entrepreneurs and agencies to instantly scale their digital marketing efforts. Experience seamless growth and market dominance by Buy Verified Twitter Ads Accounts from our platform, ensuring your business stays ahead of the...

The accelerated solvent extraction (ASE) market is gaining traction in analytical laboratories, environmental testing, food safety, and pharmaceutical research. ASE technology enables rapid and efficient extraction of compounds using elevated temperature and pressure, reducing solvent consumption and processing time. Growing demand for high-throughput sample preparation, stringent regulatory...

Buy Telegram Accounts Buy Telegram accounts can be a game-changer for businesses looking to expand their digital footprint. With millions of active users, Telegram offers an unparalleled platform for marketing and audience engagement. 🚬🍁🌍🐼🤰🏽24 Hours Reply/Contact 🚬🍁🌍🐼🤰🏽➤Discord:getpvasmm 🚬🍁🌍🐼🤰🏽➤Telegram: @getpvasmm 🚬🍁🌍🐼🤰🏽➤WhatsApp: + 1 (830) 739-8217 When you invest in these accounts,...

The steel industry demands high-quality surface finishes, consistent product performance, and efficient production processes. One of the most effective technologies used to achieve these goals is the Roll Texturing Shot Blasting Machine. This specialized machine creates a controlled surface texture on steel rolls, improving the quality of finished steel products and enhancing manufacturing...